 Skip to content
Smart lighting installation is the process of replacing standard bulbs and switches with connected devices that respond to apps, voice commands, and automated schedules. Done right, it cuts energy use, adds genuine convenience, and gives you precise control over every room in your home. The process ranges from screwing in a smart bulb to wiring a smart switch, and the right approach depends on your existing wiring, your network setup, and how far you want to take your home automation. Centralec-electrical has helped homeowners across the South West navigate exactly these decisions for over 23 years.
What you need before starting smart lighting installation
Preparation separates a smooth install from a frustrating afternoon. Before touching a single fitting, gather a non-contact voltage tester, a flathead and crosshead screwdriver, a smartphone with the relevant manufacturer app installed, and your chosen smart bulbs or switches. Skipping the voltage tester is the most common mistake DIY installers make.
Checking your existing wiring
UK homes built before 2000 often lack a neutral wire at the switch position. This matters because most smart switches need a neutral wire to power their electronics when the light is off. Without one, you have two options: a no-neutral compatible switch, or a ceiling-rose module that sits in the ceiling rather than the switch box. Both work, but each has trade-offs covered later in this guide.
Choosing the right type of smart lighting
Smart lighting systems come in three main forms.
- Smart bulbs: Screw or bayonet fit, no wiring changes needed. The wall switch must stay on permanently.
- Smart switches: Replace your existing switch plate. Require wiring access and, ideally, a neutral wire.
- Ceiling-rose modules: Sit inside the ceiling rose above the fitting. Preserve your existing switch and work without a neutral wire at the switch.
Network and hub requirements
Most smart bulbs and switches connect directly to a 2.4 GHz Wi-Fi network. Some systems use a dedicated hub, which adds reliability and reduces load on your router. Check the product packaging before you buy. A hub-based system costs more upfront but performs better in larger homes with thick walls.
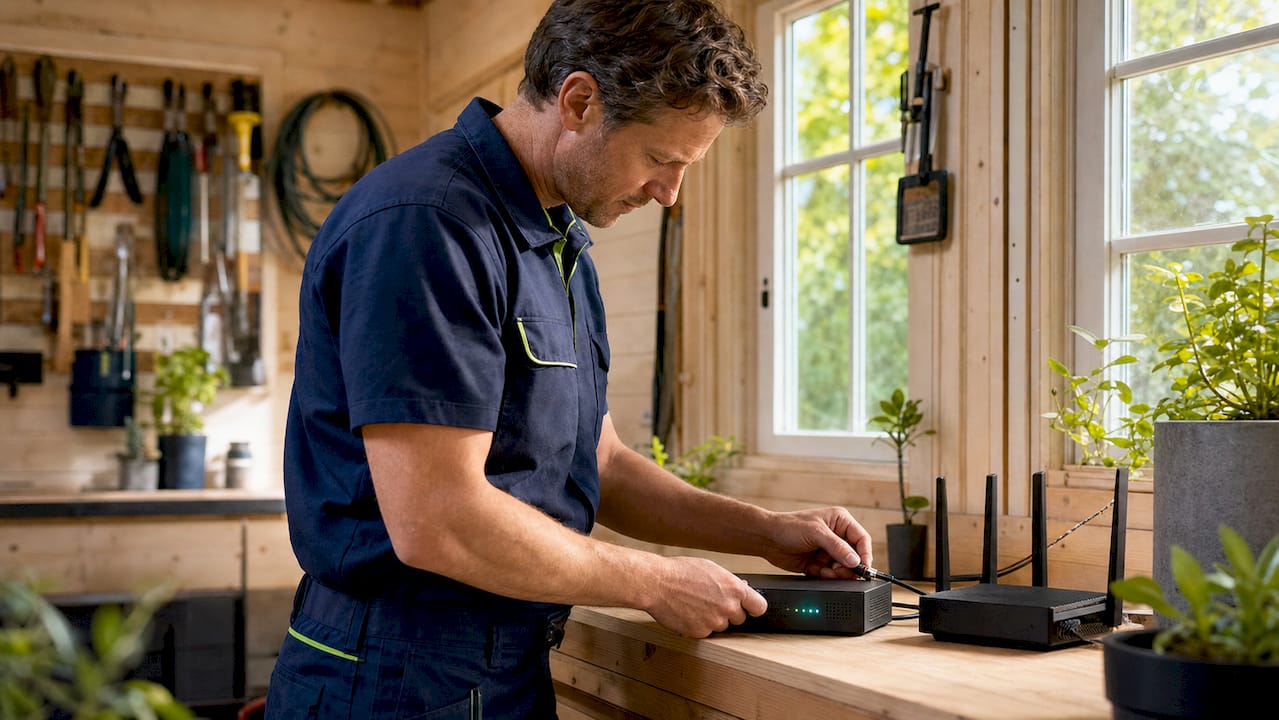
Pro Tip: Place your Wi-Fi router or a mesh node within 10 metres of the room you are installing in. Signal drop is the single most common cause of devices going offline during setup.
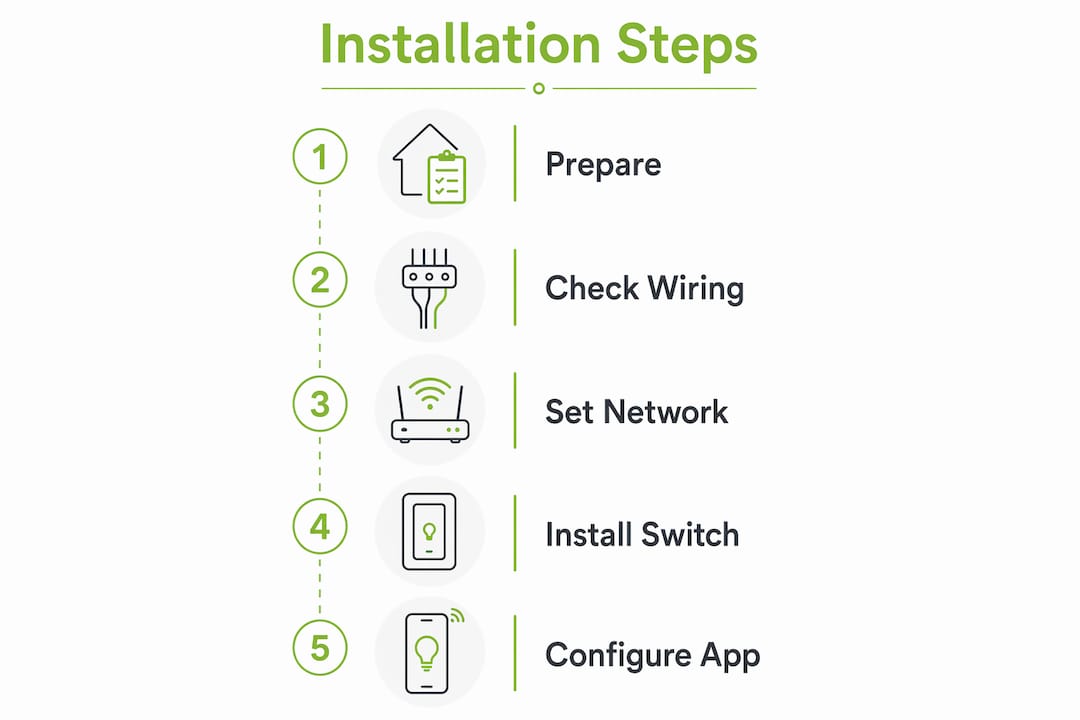
How to install smart bulbs and switches step by step
Installing a smart bulb
- Turn off the wall switch. For smart bulbs, this is enough. You do not need to isolate at the consumer unit.
- Remove the existing bulb. Allow it to cool first if it has been on recently.
- Fit the smart bulb. Screw or push it in as you would a standard bulb.
- Turn the wall switch back on and leave it on. Smart bulbs require constant power to stay connected to your network. Switching them off at the wall cuts that connection and breaks any schedules or remote control.
- Open the manufacturer app. Follow the in-app wizard. Most devices take around 2 minutes to pair and configure.
- Name the device and assign it to a room. Use clear, specific names like “Living Room Floor Lamp” rather than “Light 1.”
Installing a smart switch
Smart switch installation involves live wiring and must be done with the power fully isolated at the consumer unit. If you are not confident working with mains wiring, this is the point to call a qualified electrician.
- Switch off the circuit at the consumer unit. Confirm the power is dead using your non-contact voltage tester before touching any wires.
- Remove the existing switch plate. Note which wire connects to which terminal, or photograph it before disconnecting anything.
- Identify your wires. In UK installations, you will typically find a live (brown), a switched live (also brown or red in older cables), and possibly a neutral (blue) and earth (green and yellow).
- Connect wires to the smart switch terminals. Follow the manufacturer’s wiring diagram precisely. Live to live, neutral to neutral, earth to earth, and switched live to the load terminal.
- Fit the switch into the back box and attach the faceplate.
- Restore power at the consumer unit. The switch should power on and enter pairing mode.
- Complete setup in the app. Connect to your Wi-Fi network or hub, name the device, and assign it to a room.
Pro Tip: Photograph your existing wiring before disconnecting anything. It takes five seconds and saves significant time if you need to reverse the process.
Professional smart lighting installation for a standard 4–10 switch setup typically takes 2–6 hours. Whole-home systems can run to two days. Factor that into your planning if you are considering a full rollout.
Troubleshooting common smart lighting problems
Bulbs going offline
The most frequent complaint from new smart lighting users is bulbs that appear offline in the app. Turning off the physical wall switch cuts power to the bulb and severs its network connection. The fix is simple: leave the switch on and control the light through the app or a voice assistant instead. If family members keep switching the wall switch off, consider a switch cover or a smart switch that sends a signal rather than cutting power.
Flickering and buzzing
Mismatching dimmers with LED bulbs causes flickering, buzzing, or a complete failure to dim. Trailing-edge dimmers designed specifically for LED loads solve this in most cases. Check the manufacturer’s compatibility list and confirm the total wattage of your bulbs meets the dimmer’s minimum load requirement, which is typically 5–20W per output.
Ghost glow
No-neutral smart switches draw a small continuous current to power their internal electronics. This leakage current can cause LED bulbs to glow faintly even when switched off. A capacitor wired in parallel with the bulb, or switching to a ceiling-rose module, eliminates the problem.
“The most overlooked step in any smart lighting setup is consistent device naming. A bulb called ‘Bedroom 1’ and a switch called ‘Main Bed Light’ will confuse every voice assistant you connect. Name everything before you link a single voice platform, and you will save hours of frustration later.”
Wi-Fi and connectivity issues
Weak Wi-Fi signal is behind most persistent connectivity problems. Move your router closer, add a mesh node, or switch to a hub-based system if your home has thick stone or brick walls. Also check that your network broadcasts on 2.4 GHz. Most smart lighting devices do not support 5 GHz.
Voice command failures
Clear, consistent room and device names determine how reliably voice assistants respond. “Turn off the kitchen” works when every kitchen device is grouped under “Kitchen” in the app. Inconsistent naming breaks that grouping and produces the wrong result.
Advanced setup: scaling up and integrating automation
Starting small before going whole-home
Start your smart lighting setup in a single room before committing to a whole-home install. This lets you test your Wi-Fi coverage, confirm device compatibility, and learn the app before you have 30 devices to manage. The living room or bedroom works well as a starting point because both benefit immediately from dimming scenes and scheduled lighting.
Scenes, schedules, and automations
Scenes let you set a group of lights to specific brightness and colour temperature with a single tap or voice command. A “Film Night” scene might dim the living room to 20% warm white. A “Morning” schedule can gradually brighten your bedroom from 6:30 AM, replacing an alarm with a gentler wake-up. Most manufacturer apps support both, and they work even when you are away from home.
Choosing between hub-free and hub-based systems
| Feature | Hub-free systems | Hub-based systems |
|---|---|---|
| Setup complexity | Lower | Higher |
| Reliability | Depends on Wi-Fi | Generally more stable |
| Offline operation | No | Yes, in most cases |
| Device limit | Router-dependent | Higher, typically 50+ |
| Cost | Lower upfront | Higher upfront |
Integrating with voice assistants and the Matter standard
Smart lighting works with Alexa, Google Assistant, and Apple Home. The Matter standard simplifies adding devices across these platforms by scanning a single QR code, removing the need to manage separate apps for each ecosystem. Matter-compatible devices are increasingly common in 2026 and are worth prioritising if you plan to mix brands.
When to hire a professional
Smart switch wiring, no-neutral solutions, and multi-way switching circuits all involve mains wiring. A NICEIC-approved electrician, such as those at Centralec-electrical, will assess your existing wiring, confirm compatibility, and complete the work safely. For complex jobs, choosing a local electrician with verified credentials is the right call.
Key takeaways
Smart lighting installation works best when you check wiring compatibility first, name devices consistently, and start with one room before scaling up.
| Point | Details |
|---|---|
| Check for neutral wire first | UK homes built before 2000 often lack a neutral wire, requiring no-neutral switches or ceiling-rose modules. |
| Keep wall switches on | Smart bulbs lose network connection when the physical switch is turned off, breaking schedules and remote control. |
| Match dimmers to LED loads | Use trailing-edge dimmers and confirm minimum wattage to prevent flickering and buzzing. |
| Name devices before linking voice assistants | Consistent naming in the app determines how accurately Alexa, Google Assistant, or Apple Home responds. |
| Start with one room | Testing in a single room saves money and makes troubleshooting far easier before a whole-home rollout. |
What I have learned from smart lighting installs that most guides skip
After years of seeing smart lighting projects go well and go wrong, the pattern is clear. The installs that cause the most grief are not the complex ones. They are the ones where someone bought a dimmer-compatible smart bulb, fitted it behind an existing trailing-edge dimmer, and then wondered why it flickered. Or where a homeowner installed six smart switches, linked them all to Alexa, and named them “Light 1” through “Light 6.”
The neutral wire question catches more people off guard than anything else. Most online guides written for American audiences assume a neutral is present at every switch. In the UK, that assumption fails in a large proportion of pre-2000 homes. Before you order anything, pull the switch plate off and look. If you see only two brown wires and an earth, you are working without a neutral.
Ghost glow is another issue that rarely gets a proper explanation. A faint LED glow when the light should be off is not a faulty bulb. It is leakage current from a no-neutral switch keeping just enough energy flowing through the circuit. A capacitor fixes it in minutes, but you need to know that is the cause before you spend time swapping bulbs.
My honest advice: treat the naming convention as seriously as the wiring. Decide on a system before you set up the first device. “Room Name + Location + Type” works well. “Kitchen Island Pendant” is unambiguous. “Light 3” is useless at 11 PM when you are trying to use a voice command. The domestic electrical services that Centralec-electrical provides include a full assessment of your existing wiring before any smart integration work begins, which removes the guesswork entirely.
— Craig
Centralec-electrical: professional smart lighting support in the South West

Centralec-electrical is NICEIC-approved and has over 23 years of experience completing electrical installations across the South West. The team assesses your existing wiring, identifies neutral wire availability, and recommends the right smart lighting solution for your home before any work begins. There are no hidden costs and every job comes with a satisfaction guarantee.
Whether you need a single smart switch fitted or a full home rewiring to support a new automation system, Centralec-electrical handles it safely and to BS 7671 standards. Their domestic electrical services cover smart home integrations alongside rewiring, condition reports, and EV charger installation. Get in touch for a free consultation and find out what your home’s wiring can support.
FAQ
Do smart bulbs work without a hub?
Most smart bulbs connect directly to a 2.4 GHz Wi-Fi network and do not require a hub. Hub-based systems offer greater reliability and offline operation, but are not necessary for a basic setup.
Can I install a smart switch without a neutral wire?
Yes. No-neutral smart switches and ceiling-rose modules both work in homes without a neutral wire at the switch position. Be aware that no-neutral switches can cause LED ghost glow, which a capacitor or ceiling-rose module resolves.
Will smart bulbs work with my existing dimmer switch?
Standard dimmer switches are incompatible with most smart bulbs. Trailing-edge dimmers designed for LED loads are required, and the total bulb wattage must meet the dimmer’s minimum load specification.
How long does smart lighting installation take?
A professional installation covering 4–10 switches typically takes 2–6 hours. Whole-home systems can take up to two days depending on the complexity of the existing wiring.
Is smart lighting installation safe to do yourself?
Smart bulb installation is safe for most homeowners. Smart switch installation involves mains wiring and should only be attempted by those confident working with live circuits. For anything beyond a bulb swap, a NICEIC-approved electrician is the safest option.